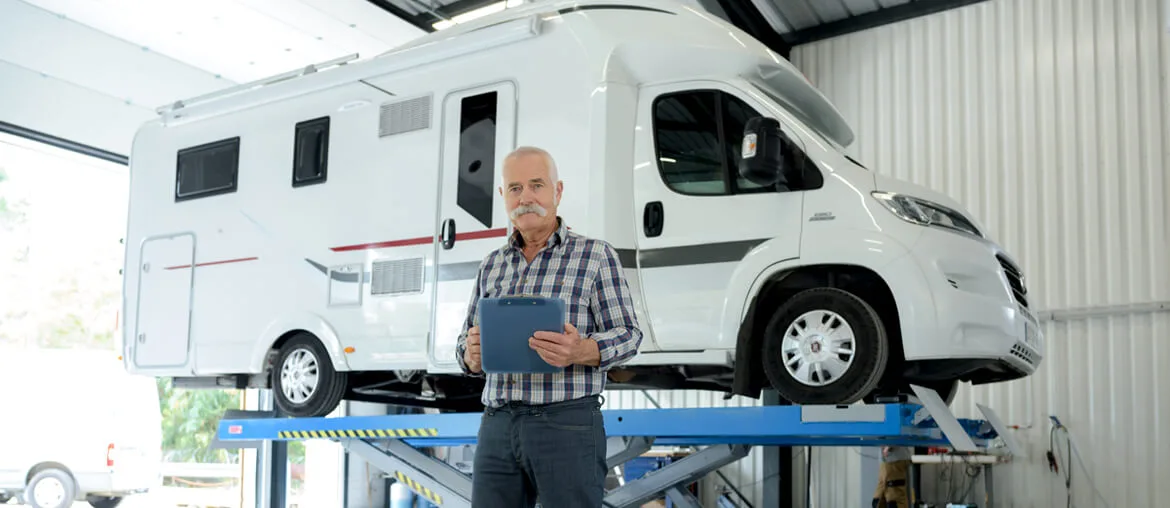
6 Handy Tips for Trailer Restoration

Restoring a salvage trailer, if done right, can be a great money saving decision. Starting from the post-purchase inspection to buying and installing new parts, every step of the restoration process has to be executed with care and precision. Whether you are planning to buy a salvage trailer from horse trailer auctions online or are looking to revive your old trailer, the know-how of the process from start to the end can be helpful. That is exactly what we have covered in this blog post. Read on as we present a list of six handy trailer restoration tips.
- Start with a thorough inspection
If you bought a salvage trailer, it is important to inspect it thoroughly before you start opening it up or buying any new parts or accessories. When inspecting your salvage trailer, make sure you check for broken welds, twisted axles, loose bearings, fluid leakage, and electrical malfunctions. In addition, before you start the project, make sure you have all the necessary tools and equipment. - Remove everything that is to be replaced
Rusted trailer parts, such as old nuts and bolts, must be replaced depending upon their condition. Rusted parts would mostly need to be replaced or heavily sanded to get rid of the rust and old paint. It is, however, advisable to replace all rusted and corroded old nuts and bolts with new ones, as they can cause serious problems on the road. If there are any broken parts, check if they can be repaired; if not, remove and replace those, too. - Do a thorough cleaning and paint job
Once the rust and old paint is removed, you can clean the trailer using an air blower to remove particulate matter and dust so that fresh paint can be applied easily. Before you start painting, remember to tape off any areas you want to avoid painting over and use a protective face mask to avoid breathing in toxic chemicals. Apply at least a few coats of rust-proof paint over the entire body and chassis before you start painting. - Service the wiring and fixtures
Redo the faulty bits of the wiring as that is something that rarely ever gets completely replaced. Replace all the broken light fixtures and panels. While you can leave any lighting fixtures that aren’t damaged, you may still have to replace the old bulbs. If an old lighting fixture is standing out from the fresh ones you have installed, and if your budget permits, you can upgrade it and replace it with a new one. - Install new parts
Once you have done the groundwork, it is time to install all the new parts and dispose of the old and damaged ones. Starting from replacing old boards to fixing new screws and nuts, you can now do it all, once the cleaning and electrical wiring is done. After completing the work on the trailer, you may also consider polishing the wheels to enhance their appeal. - Do a test run
Before your trailer is ready for regular use or for resale, remember to test it out for a couple of days to make sure everything is working correctly. If you have done the job right, there is a good chance that your trailer will last for years to come and prove to be a worthwhile investment for your time and money.
The Final Word
If you are planning on purchasing a salvage trailer, look no further. AutoBidMaster offers an extensive inventory of salvage trailers for sale. Register with a few clicks or by using your Facebook or Google account, upload a copy of your government-issued ID, and place a refundable security deposit to get started. Explore our horse trailer auctions and bring home a model of your liking for an unbelievable price. If you have any questions about horse trailer auctions, talk to our Buyer Services team at +1 (503) 298-4300, Monday through Friday, 6:00 AM to 4:00 PM (GMT-8:00), or email at support@autobidmaster.com. You can also contact us through Viber/WhatsApp at +1 (503) 473-9895.
Discover detailed License Plate Lookup Massachusetts with just a license plate number.

- The Advantages of Salvage Car Parts - November 3, 2025
- Buying Salvage Cars: What to Expect on Auction Day - May 22, 2025
- Is Buying a Hail Damage Car Worth It? A Detailed Guide - December 2, 2024